Replaces


Recommended for your 2012 Audi TT RS Quattro
Frequently bought together
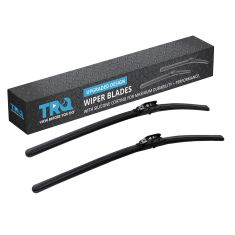
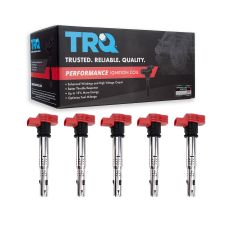
Part Details
Specifications
Product Features
Returns: Parts with electrical components cannot be returned once installed.
Attention California Customers:
 WARNING: This product can expose you to chemicals including Lead and Lead Compounds, which are known to the State of California to cause cancer, and birth defects or other reproductive harm. For more information, go to www.P65Warnings.ca.gov.
Lifetime Warranty
This item is backed by our limited lifetime warranty. In the event that this item should fail due to manufacturing defects during intended use, we will replace the part free of charge. This warranty covers the cost of the part only.
Returns: Parts with electrical components cannot be returned once installed.
FREE Shipping is standard on orders shipped to the lower 48 States (Contiguous United States). Standard shipping charges apply to Hawaii and Alaska.
Shipping is not available to a P.O. Box, APO/FPO/DPO addresses, US Territories, or Canada for this item.
Expedited is available on checkout to the United States, excluding Alaska, Hawaii.
Final shipping costs are available at checkout.
Created on:
Tools used
Brought to you by 1AAuto.com, your source for quality replacement parts and the best service on the Internet.
Hi, I'm Don from 1A Auto. I hope this how-to video helps you out, and the next time you need a part for your vehicle, think of 1AAuto.com. Thanks.
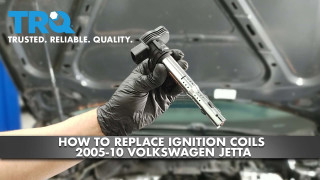
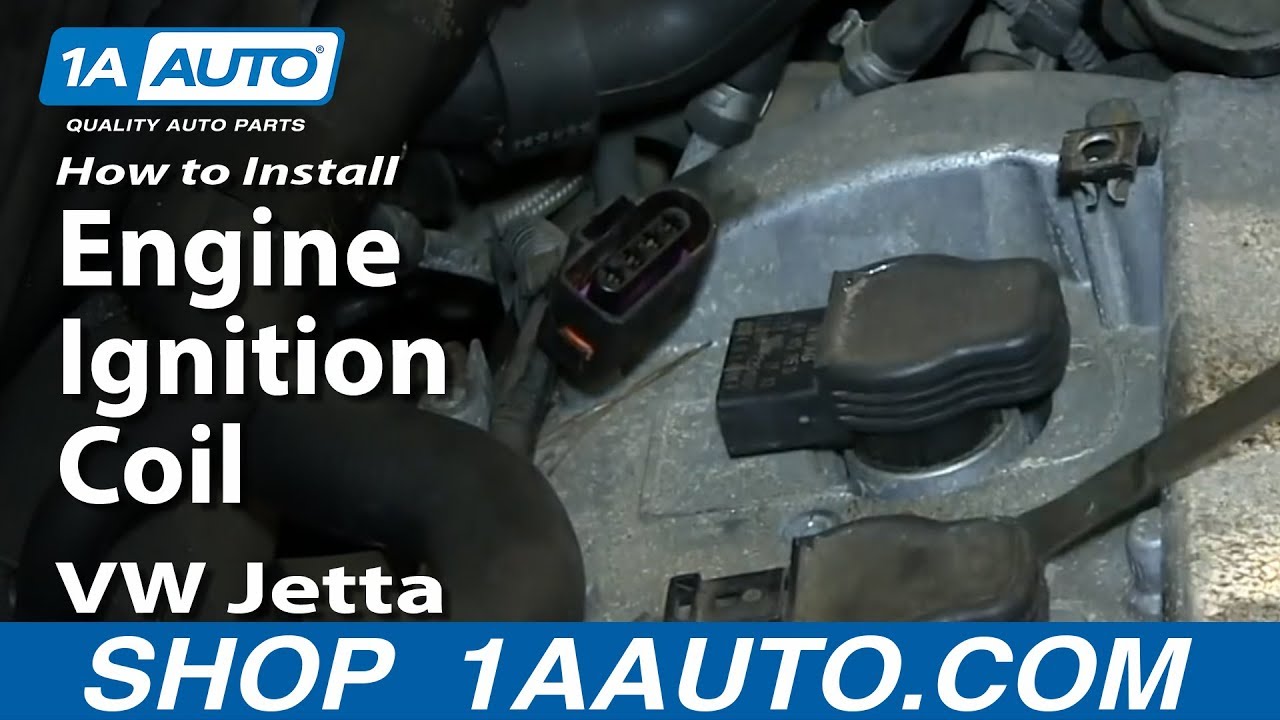
In this video, we're going to show you how to replace an ignition coil on this 2004 Volkswagen Jetta with 1.8L engine. The items you'll need for this include a new ignition coil from 1AAuto.com, a Phillips screwdriver, and a flat blade screwdriver. For ignition coils 3 and 4, you'll need a 10mm socket and ratchet. For ignition coil 4, you'll also need a 5mm Allen bit.
First, we have to remove the engine cover by loosening these four Phillips clips. Just loosen it while pulling up on the engine cover, and then the engine cover pulls off and you can set it aside. For ignition coils 1 and 2, all you need is a flat blade screwdriver. Just press on the tab and pull the harness free, and then just pry the ignition coil up and out. Then, you just take your new ignition coil, push it down into place, and reconnect the harness.
To access ignition coil 3, you're going to have to remove the small air box. Just using a 10mm socket and ratchet, remove this 10mm nut and set the air box aside. To get to 4, you're also going to have to remove these three 5mm Allen bolts. We'll just fast-forward as Don removes those. Pull the bracket off and set it aside. Then just like before, push on the tab and pull the harness free. You may need to pry it to separate it, and then just pry the ignition coil up and out.
On the right is an old ignition coil; on the left is the new one from 1A Auto. You can see that they're identical, and they'll fit exactly the same. Take your new ignition coil, push it down into place, and then reconnect your harness. Replace the bracket and the three 5mm Allen bolts that hold it into place. We'll fast-forward as Don tightens those up.
Now, replace that small air box, the 10mm nut that holds it into place, and just tighten that up. Line up the four Phillips clips with these four holes. Just push the engine cover down into place and tighten up those four clips. You're all set.
We hope this video helps you out. Brought to you by www.1AAuto.com, your source for quality replacement parts and the best service on the Internet. Please feel free to call us toll-free, 888-844-3393. We're the company that's here for you on the Internet and in person.
We are a caring, passionate team of auto enthusiasts who are here to help, If you have a question about our parts or a repair, please call 1-888-844-3393 between 8 AM & 9:30 PM M-F and 8 AM & 4 PM Sat. and Sun. (EST).
In stock orders ship same-day when ordered by 4 PM ET. Need your parts faster? We also offer expedited shipping at checkout.