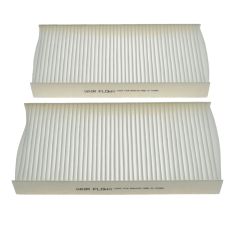
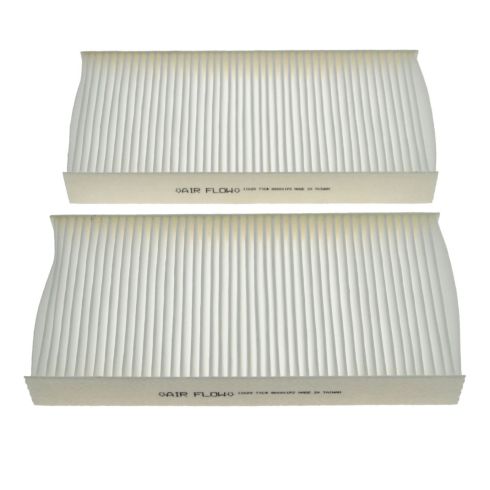
Replaces


Frequently bought together
Attention California Customers:
 WARNING: Cancer and Reproductive Harm - www.P65Warnings.ca.gov.
Lifetime Warranty
This item is backed by our limited lifetime warranty. In the event that this item should fail due to manufacturing defects during intended use, we will replace the part free of charge. This warranty covers the cost of the part only.
FREE Shipping is standard on Orders shipped to the lower 48 States (Contiguous United States). Standard shipping charges apply to Hawaii, Alaska and US Territories. Shipping is not available to Canada.
Expedited is available on checkout to the United States, excluding Alaska, Hawaii and US Territories as well as P.O. Boxes and APO/FPO/DPO addresses. Final shipping costs are available at checkout.
Created on:
Tools used
Brought to you by 1AAuto.com, your source for quality replacement parts and the best service on the Internet.
Hi, I'm Mike from 1A Auto. I hope this how-to video helps you out, and next time you need parts for your vehicle, think of 1AAuto.com. Thanks.
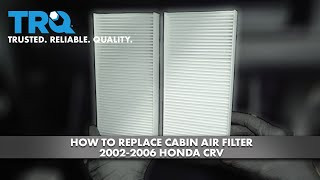
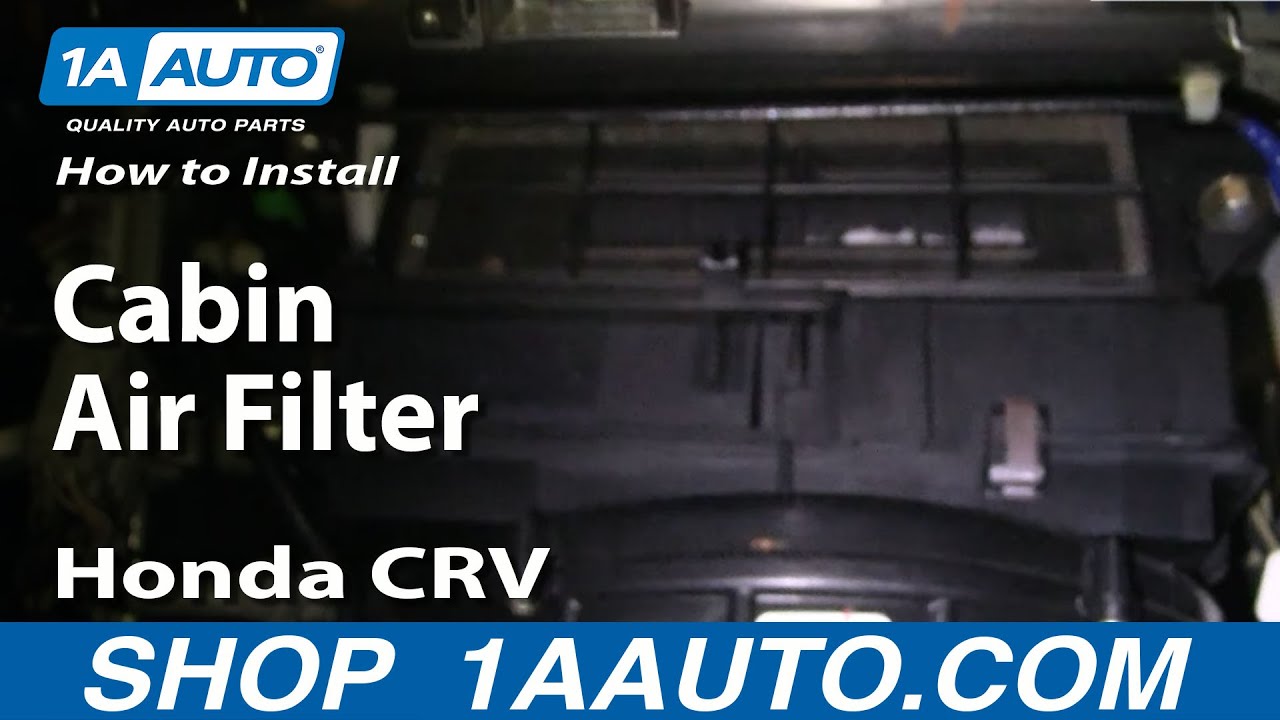
To replace your cabin air filter, you're going to want to open up your glove box, empty it of its contents. Then on each side there's little hooks here. They go on the outside. You can see that there are little tabs here that hold it. Gently push up on one of the tabs. You're pushing on the tabs on the outside with your finger. Pry on the inside. Then lift the box up a little bit. This little hook comes out. Then there's one on the other side. Do the same thing.
Now, your box can come down. Right inside here there's a little door. This is the door here. There's a little tab over here. Pull this tab over. Bring the door out. Here is your cabin air filter. There's half of it. Then, another half slides over and comes out. You can see, especially if you don't ever replace them they can get pretty ugly. The filters actually come out of the plastic encasements.
Here's a new filter. Make sure that the airflow is pointing down. For the top and this side, take it out. The airflow arrow is pointing down in from the top. This one goes in first. Get any debris that you can reach with your hand. There are a couple leaves down in the fan motor. You can feel the fan motor right down in there. I'm just turning it a little bit to see if there's any more debris. You put your first cartridge back in and slide it over, and then put the second cartridge back in. For the door, there's a little tab on the side. Slide it in, and then clip it in. Clean off any debris from the back of your glove box here. Put the glove box up. Take one of your hooks. While you're pushing the glove box up a little bit further put the hook in. You have to push the glove box in a little bit more and put the hook in. Let the glove box rest down into position. The hook flips in. The same thing with the other side: push the glove box up in a little bit. Put the hook in. Let the glove box rest down, and then click the hook into place. Put the stuff back in your glove box and you're all set. Maybe vacuum up the floor a little bit after all that debris got all over the place.
We hope this helps you out. Brought to you by www.1AAuto.com, your source for quality replacement parts and the best service on the Internet. Please feel free to call us toll-free, 888-844-3393. We're the company that's here for you on the Internet and in person.
We are a caring, passionate team of auto enthusiasts who are here to help, If you have a question about our parts or a repair, please call 1-888-844-3393 between 8 AM & 9:30 PM M-F and 8 AM & 4 PM Sat. and Sun. (EST).
In stock orders ship same-day when ordered by 4 PM ET. Need your parts faster? We also offer expedited shipping at checkout.