Replaces


Frequently bought together
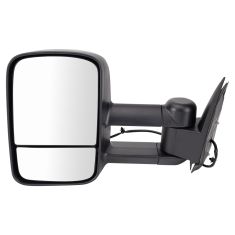
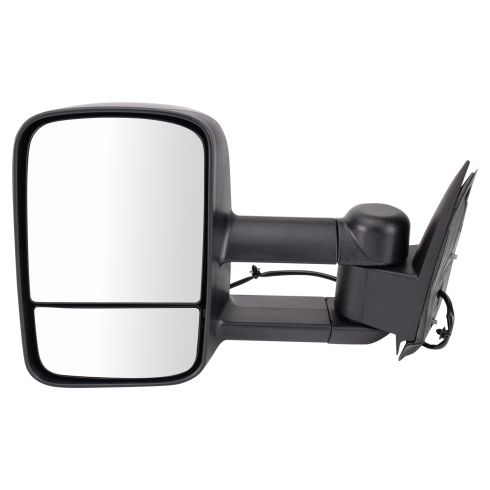
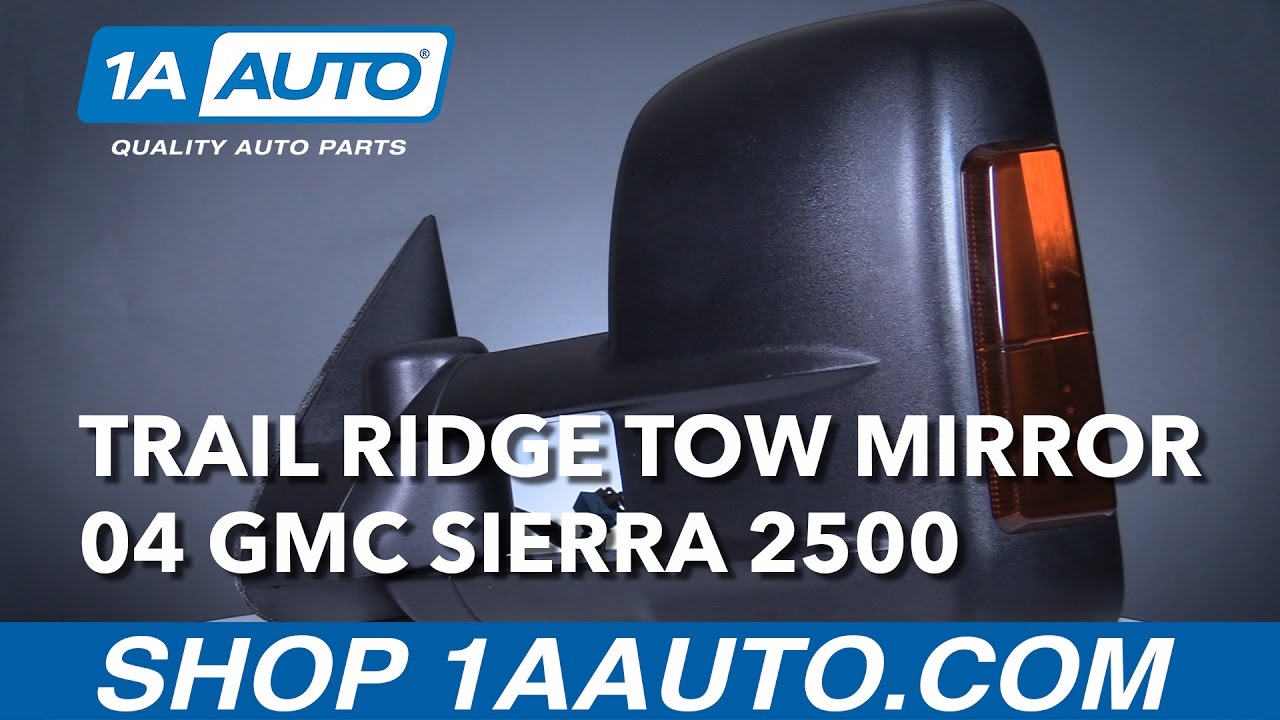
Part Details
Trusted Quality: Trail Ridge Truck Accessories are developed and built with a promise to provide high quality, durable parts for your truck; backed by the best warranty in the automotive industry. Manufactured from the highest quality materials and constructed to meet or exceed OEM standards. Every Trail Ridge part is rigorously tested ensuring superior fit, function, and durability. Quality, trusted value, and hassle-free installation backed by our 100% satisfaction guarantee.
Exact fit - To obtain proper fit and function confirm your vehicle has the exact mirror options listed.
Attention California Customers:
 WARNING: This product can expose you to chemicals including Chromium (Hexavalent Compounds), which is known to the State of California to cause cancer, and birth defects or other reproductive harm. For more information, go to www.P65Warnings.ca.gov
Lifetime Warranty
This item is backed by our limited lifetime warranty. In the event that this item should fail due to manufacturing defects during intended use, we will replace the part free of charge. This warranty covers the cost of the part only.
FREE Shipping is standard on orders shipped to the lower 48 States (Contiguous United States). Standard shipping charges apply to Hawaii and Alaska.
Shipping is not available to a P.O. Box, APO/FPO/DPO addresses, US Territories, or Canada for this item.
Expedited is available on checkout to the United States, excluding Alaska, Hawaii.
Final shipping costs are available at checkout.
FREE Shipping is standard on Orders shipped to the lower 48 States (Contiguous United States). Standard shipping charges apply to Hawaii, Alaska and US Territories. Shipping is not available to Canada.
Expedited is available on checkout to the United States, excluding Alaska, Hawaii and US Territories as well as P.O. Boxes and APO/FPO/DPO addresses. Final shipping costs are available at checkout.
Created on:
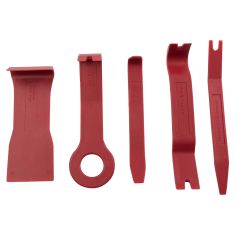
Tools used
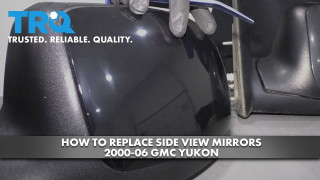
Hi, I'm Mike from 1AAuto. We've been selling auto parts for over 30 years! We're dedicated to delivering quality auto parts, expert customer service, and fast and free shipping, all backed by our 100% satisfaction guarantee. We've created thousands of videos to help you install our parts with confidence. That saves you time and money, so visit us at 1AAuto.com, your trusted source for quality auto parts.
Remove the trim cover behind the mirror. Remove the trim panel around the door handle. Using a trim tool, pry out and remove the manual lock mechanism. Remove the two 7 millimeter screws and hold the door panel into place. Use a 7 millimeter socket, ratchet and extension. Remove this plastic cover using a trim tool or a pick. Remove the T20 Torx screw, using a T20 Torx bit, ratchet, and extension. Remove this plastic pin using a trim tool or a pick. Make sure the door lock is in the rearward position. You can then remove your door panel.
Press the reflector out and disconnect the electrical connector using a pick tool. Remove the electrical connectors from the window switch by pressing in on the tabs on each of them. Pull the gray tab on the main connector, then disconnect it from the window switch. Pull back the weather shielding and remove the plastic pins using a trim tool. Remove the three ten millimeter nuts with a socket, ratchet and extension. Be sure to support the mirror while you remove the last nut. Press in on the two tabs and remove the mirror from the vehicle.
Feed the wires through and install your new Trail Ridge mirror. Reinstall the three ten millimeter nuts. You can tighten them down with your socket, ratchet and extension. Reinstall the wire clips. Run the wire through the weather shielding, and put it back into place. Reconnect all of the electrical connectors. Reconnect the marker and press it back into the panel.
Reinstall the door panel. Reinstall the plastic door pin. Reinstall this trim panel. Reinstall the trim panel around the door handle. Reinstall the two 7 millimeter screws. Tighten then down with a 7 millimeter socket, ratchet and extension. Make sure the lock mechanism is in the lock position and press it back into the door panel. Reinstall the T20 Torx screw and the plastic cap.
Thanks for watching. Visit us at 1AAuto.com for quality auto parts, fast and free shipping, and the best customer service in the industry.
Tools used
Start by removing your old OEM mirror. Remove your inner mirror panel by pulling out and up. Remove the foam insulator. Remove the three 10 millimeter nuts. Use a ratchet extension and 10 millimeter socket. Be sure to support the mirror while removing the last nut. Squeeze these two tabs together to remove the mirror from the vehicle.
Install the three studs into the corresponding holes in your door. Use the 10 millimeter nuts supplied with your new mirror kit. Tighten them down with a ratchet extension and 10 millimeter socket. Reinstall the insulator. Align the tabs on the back of your inner mirror panel into the holes in the door. Snap your inner mirror panel back into place.
We are a caring, passionate team of auto enthusiasts who are here to help, If you have a question about our parts or a repair, please call 1-888-844-3393 between 8 AM & 9:30 PM M-F and 8 AM & 4 PM Sat. and Sun. (EST).
In stock orders ship same-day when ordered by 4 PM ET. Need your parts faster? We also offer expedited shipping at checkout.