How To Replace Tail Lights 2009-12 Chevy Traverse
Created on: 2014-01-22
If the tail lights need to be replaced or the bulbs need to be changed, this video will show you how
-
step 1 :Removing the Taillight
- Open the tailgate
- Pry off the bolt covers with a flat blade screwdriver
- Remove the 7mm bolts from the taillight
- Pull the taillight out
- Disconnect the taillight wiring harness
-
step 2 :Servicing the Bulbs
- Twist the bulb socket counterclockwise out of the light
- Pull the bulb off of the socket
- Push on the new bulb
- Twist the bulb clockwise into the light
-
step 3 :Installing the New Taillight
- Reconnect the wiring harness to the taillight
- Line up the bolt holes on the taillight to the bolt holes on the vehicle
- Replace the 7mm bolts into the taillight
- Replace the bolt covers
- Test the taillights
Tools needed
-
Flat Blade Screwdriver
Ratchet
7mm Socket
While 1A Auto strives to make the information provided in this video as accurate as possible, it makes no claims, promises, or guarantees about the accuracy, completeness or applicability of the content. No information contained in this video shall create any expressed or implied warranty or guarantee of any particular result. All do-it-yourself projects entail some risk. It is the sole responsibility of the viewer to assume this risk. 1A Auto is not responsible or liable for any loss damage (including, but not limited to, actual, consequential, or punitive), liability, claim, or any other injury or cause related to or resulting from any information posted in this video.
Brought to you by 1AAuto.com, your source for quality replacement parts and the best service on the Internet.
Hi, I'm Don from 1A Auto. I hope this how-to video helps you out, and the next time you need a part for your vehicle, think of 1AAuto.com. Thanks.
In this video, we're going to show you how to service your taillight bulbs as well as replace the entire taillight assembly on this 2012 Chevy Traverse. We show you on the driver side, but the passenger side is the same procedure. The items you'll need for this include new taillights from 1AAuto.com, a 7mm socket and ratchet, and a flat blade screwdriver.
Start off by opening your tailgate. Right here there are two bolt covers. Pry them off with a flat blade screwdriver. Now you can see there are two 7mm bolts. We'll just fast-forward as Don removes those. Now pull the taillight directly out, and then push the tab on this harness and pull it through.
If you're just looking to service the bulb, you just want to twist the bulb out of the socket, pull the bolt out, push your new one in, and twist the socket back into place. The other bulb are pretty much the same. Twist it out, pull the bulb right out, push the new one in, and twist it back into place.
On the left is the old taillight; on the right is the new one from 1A Auto. They'll mount exactly the same.
Take your new taillight, plug in the harness, then line up this stud with this hole, and push the taillight back into place. You do have to apply a decent amount of pressure to get it to go in. Once you get it in, replace those two 7mm bolts and tighten them up. Then replace those two covers. Now test them out. Make sure they work, and you're all set.
We hope this video helps you out. Brought to you by www.1AAuto.com, your source for quality replacement parts and the best service on the Internet. Please feel free to call us toll-free, 888-844-3393. We're the company that's here for you on the Internet and in person.
Shop Products


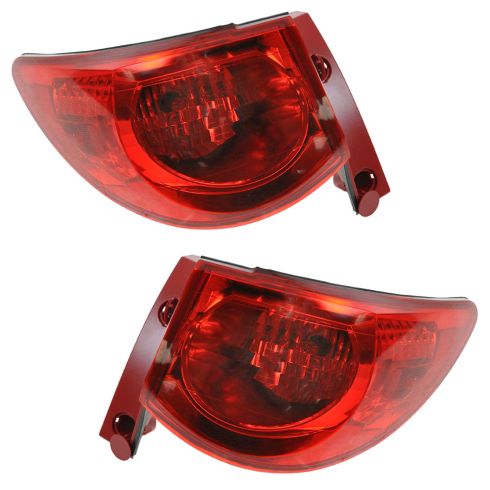
2009-12 Chevrolet Traverse Driver & Passenger Side Outer 2 Piece Tail Light Set TRQ LTA75110
Part Details:
- 2 Piece
- (1) Passenger Side Tail Light
- (1) Driver Side Tail Light

How to Replace Tail Light 1997-2005 Buick Century
Check out this video for quality and detailed instructions on how to replace or service the tail light and bulbs on your 97-05 Buick Century.
While 1A Auto strives to make the information provided in this video as accurate as possible, it makes no claims, promises, or guarantees about the accuracy, completeness or applicability of the content. No information contained in this video shall create any expressed or implied warranty or guarantee of any particular result. All do-it-yourself projects entail some risk. It is the sole responsibility of the viewer to assume this risk. 1A Auto is not responsible or liable for any loss damage (including, but not limited to, actual, consequential, or punitive), liability, claim, or any other injury or cause related to or resulting from any information posted in this video.
