Replaces


Recommended for your 2002 Honda Civic
Part Details
Specifications
Product Features
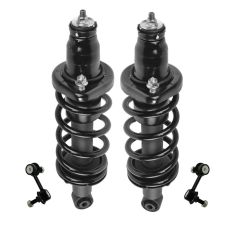
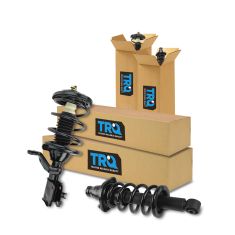
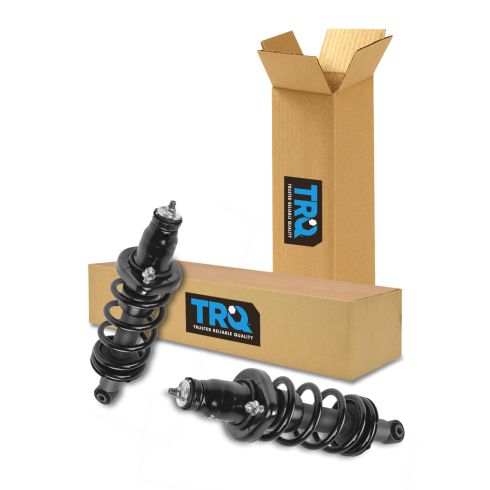
TRQ fully loaded shocks and struts are manufactured using premium raw materials and calibrated to restore original ride comfort. TRQ shocks are fully loaded featuring a pre-loaded bearing plate, upper and lower spring isolator, upper spring seat, coil spring, boot kit, and premium strut. TRQ recommends replacing your shocks or struts in pairs to ensure even wear of components and improved ride comfort. All products are fit and road-tested in our Massachusetts R&D facility to ensure we deliver on our promise of Trusted Reliable Quality.
Attention California Customers:
 WARNING: This product can expose you to chemicals including Chromium (Hexavalent Compounds), which is known to the State of California to cause cancer, and birth defects or other reproductive harm. For more information, go to www.P65Warnings.ca.gov
| Quantity | Part | Brand | Replaces OE Number |
|---|---|---|---|
| 1 | 2001-05 Honda Civic Rear Driver Side Shock & Spring Assembly TRQ SCA61112 SCA61068 | TRQ | 171340L, 171340R, SCA61112 |
| 1 | 2001-05 Honda Civic Rear Passenger Side Shock & Spring Assembly TRQ SCA61121 SCA61068 | TRQ | 171340R, SCA61121 |
Lifetime Warranty
This item is backed by our limited lifetime warranty. In the event that this item should fail due to manufacturing defects during intended use, we will replace the part free of charge. This warranty covers the cost of the part only.
FREE Shipping is standard on orders shipped to the lower 48 States (Contiguous United States). Standard shipping charges apply to Hawaii and Alaska.
Shipping is not available to a P.O. Box, APO/FPO/DPO addresses, US Territories, or Canada for this item.
Expedited is available on checkout to the United States, excluding Alaska, Hawaii.
Final shipping costs are available at checkout.
Created on:
Tools used
Brought to you by 1AAuto.com, your source for quality replacement parts and the best service on the Internet.
Hi, I'm Mike from 1A Auto. I hope this how-to video helps you out, and next time you need parts for your vehicle, think of 1AAuto.com. Thanks.
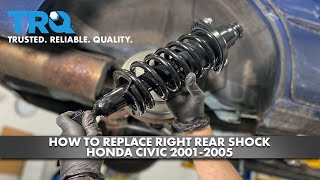
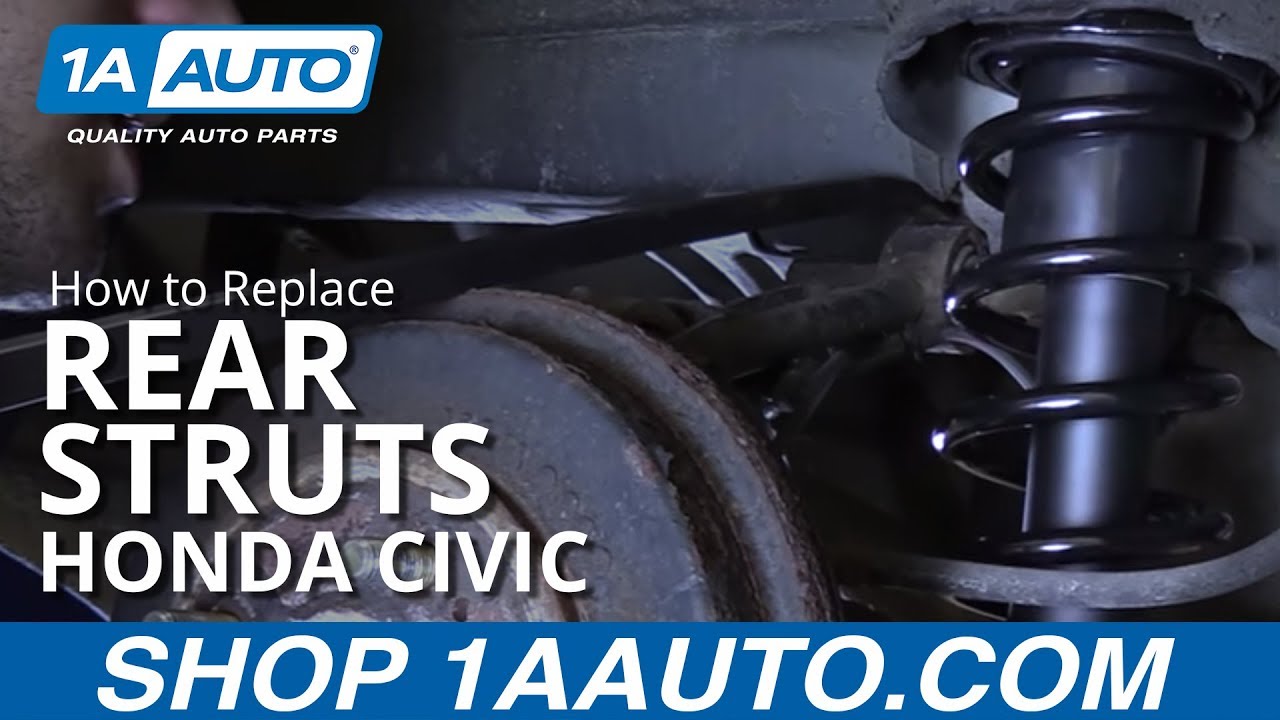
In this video, we're going to show you how to replace the rear struts on this 2003 Honda Civic, pretty much the same as any 2001 to 2005. We show you on the passenger side, but the driver side's the same procedure. You're going to need new struts from 1AAuto.com, 14 to 19mm sockets, ratchet and extension . air tools will help you if they're available, 3/8" universal joint, flat-head screwdriver, pry bar, jack and jack stands, and penetrating oil.
Remove the rear carpet from the trunk. Unscrew the plastic retainer. Undo these two plastic clips. Remove the carpet from the side of the trunk you're working on. Remove the two 14mm bolts at the top of the strut.
Remove your four lug nuts with a 19mm socket.
Remove the 17mm bolt at the bottom of the strut. We're going to use a universal swivel and a 17mm impact socket, but this can also be done by hand with a socket and ratchet, or a 17mm wrench. Sometimes, these bolts won't want to come out, because they are under tension from the strut, or they're stuck to the rubber bushing inside. You can use an open-end wrench smaller than the head of the bolt to put a little pressure on it when you spin it out. Use a pry bar to pull the bottom of the strut out of the bracket, pull it right down.
Here we have our new part from 1Aauto.com. As you can see, we have the same upper and the same lower mounting locations. Our new part is a complete strut assembly, saving you the time and the risk of changing your coil spring from the old strut to new strut at home. This is going to go in, direct fit, and restore our original ride quality.
These struts are directional, so you're going to want to make sure that your top and bottom bolt locations line up before we tighten anything. Feed the strut up through the bottom into the mounting location, put the nuts on the top of the strut just finger-tight to make sure it doesn't fall out while we work on the bottom side. Put a pry bar with the hook-end down into the upper control arm on the body side of the car. We're going to pry the suspension down so we can line up our lower strut mount. Start your bolt by hand. Use that universal joint and 17mm socket to tighten the bottom bolt back up.
To reinstall the wheel, start them with the impact gun, leave room to torque later. Put some weight back on the rear tires without letting the vehicle completely off your jack or your lift. The new hardware supplied with our strut is a 15mm, so we'll need that to tighten the top of the strut mount back in. You may need a 3/8" universal to reach the rear bolt. Reinstall the side carpet abd two retainers. Reinstall the lower carpet. With partial weight of the vehicle on your tire, torque your four lug nuts to 8 foot-pounds in a cross pattern.
Thanks for tuning in. We hope this video helps you out. Brought to you by www.1AAuto.com, your source for quality replacement parts and the best service on the Internet. Please feel free to call us toll-free, 888-844-3393. We're the company that's here for you on the Internet and in person.
We are a caring, passionate team of auto enthusiasts who are here to help, If you have a question about our parts or a repair, please call 1-888-844-3393 between 8 AM & 9:30 PM M-F and 8 AM & 4 PM Sat. and Sun. (EST).
In stock orders ship same-day when ordered by 4 PM ET. Need your parts faster? We also offer expedited shipping at checkout.